Midori On Slackware – Using SlackBuilds
Posted: 10 April 2012 Filed under: How-tos, Slackware | Tags: icu4c, libsoup, libunique, Midori, Salix OS, SlackBuilds, Slackware, vala, Webkitgtk, Zorin OS 6 CommentsYes, I’m still on spring hiatus, but the place was getting to look a bit run down.
Plus, I wanted to show you all how to install this cool little browser that I found called Midori. Oh, it’s nothing new. It’s been around for a while, but it’s new to me. I first found it while using Salix OS recently on one of my tester partitions. I’m also using it in Zorin OS on one of my laptops. It’s fast. It’s pretty simplistic and minimal, too.
It is a bit complicated to install on Slackware, though. However, I’m sure you can do it. It just requires using some excellent SlackBuild scripts provided by the dedicated folks at SlackBuilds.org. Unfortunately, Midori is not one of those apps that you can install with just one SlackBuild. It has some dependencies… and its dependencies have some dependencies.
That always complicates things a bit, particularly in Slackware where you have to be smart enough to resolve dependency issues on your own. There is no a gaggle of volunteer repo maintainers doing it for you. That’s alright, though. Slackers are known to be smart and tough. We can take it. Dependency H3LL don’t scare us none. 😉
Let’s get started, OK?
Fire up your current browser and navigate to SlackBuilds.org. You know the place. You’ve been there before. Once you’re there, you’re going to search and download six different SlackBuild scripts and their related source tar balls. Got that? OK.
Here they are (click for the SlackBuilds.org page for each one):
Midori is your ultimate goal. It requires webkitgtk, libunique, and vala. The others are dependencies of webkitgtk and will have to be built first and installed before you build webkitgtk.
You should be familiar with the whole SlackBuild thing by now. Just in case, though, I’ll run through one for you.
Let’s build libunique first:
1. Download the source and the SlackBuild
2. Decompress the SlackBuild (using Xarchiver or your favorite tool)
3. Move the newly untar’d directory to your favorite temporary build directory
4. Move the libunique source package to the untar’d libunique SlackBuild directory (see Fig. 1)
Figure 1

5. Open a terminal and make the script executable:
# chmod +x *Build
6. Execute the script:
# sh *Build
NOTE: If you’re building on a 64 bit Slackware, you should use the prefix Arch=x86_64. For example: # Arch=x86_64 sh *Build
7. Once the script completes, using Slackware’s pkgtool to install the newly created .tgz package you’ll find in your /tmp directory:
# installpkg libunique*
NOTE: You might also want to keep these packages somewhere safe in case you ever want to reinstall Midori on this system or another Slackware installation somewhere.
Now, we need to build and install the rest of the dependencies in this order: icu4c, libsoup, vala. Once you’ve built and installed these guys, you can then build and install webkitgtk. Something to keep in mind once you begin your webkitgtk build; it is NOT one of those zippity-fast builds. Even on a fast system, it may take 45 minutes to build. Just be patient. Don’t sit there waiting for the pot to boil. Go have some dinner or take a healthy walk around the neighborhood while it builds.
OK, assuming you’ve managed to build and install libunique, icu4c, libsoup, vala… and then webkitgtk, you should now be able to build and install midori. It’s a pretty fast build, less than 1/2 a minute. Install it using pkgtool, as you did with the others above. If all went well, you should have a nice working Midori browser on your system now. If you run Xfce4 like I do, it will automagically show up in the Menu –> Network sub-menu.
Here’s my Midori running with the Midori Home Page opened:
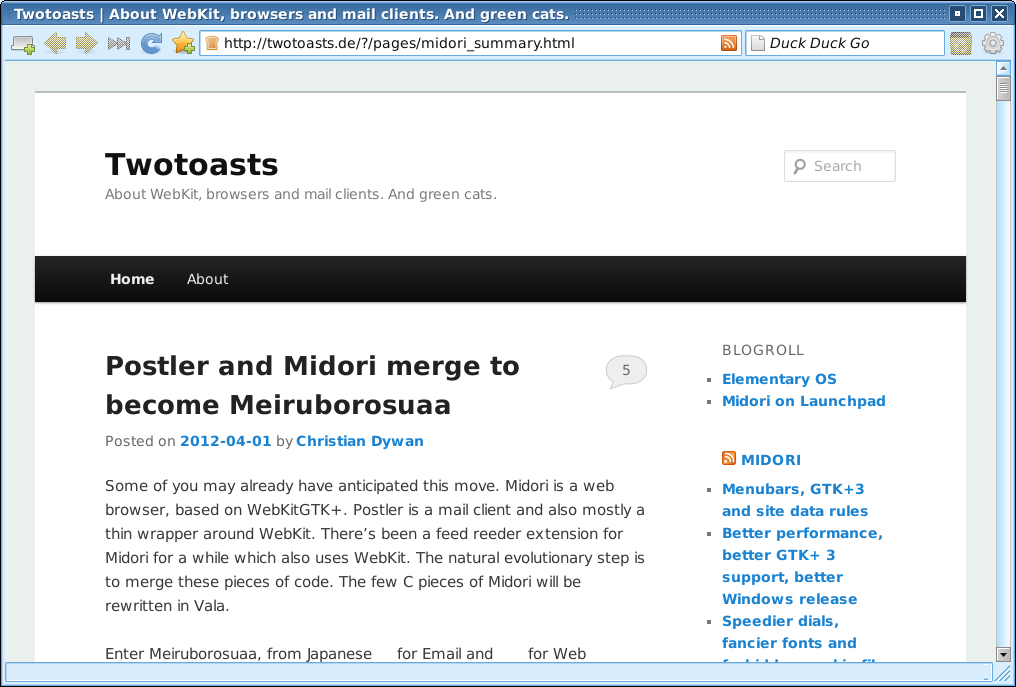
NOTE: That’s an April Fools post you’re seeing there about merging Midori with Postler. 😉
Have lots of FUN! 🙂
~Eric
P.S. I’m going back on hiatus now. See you again soon…